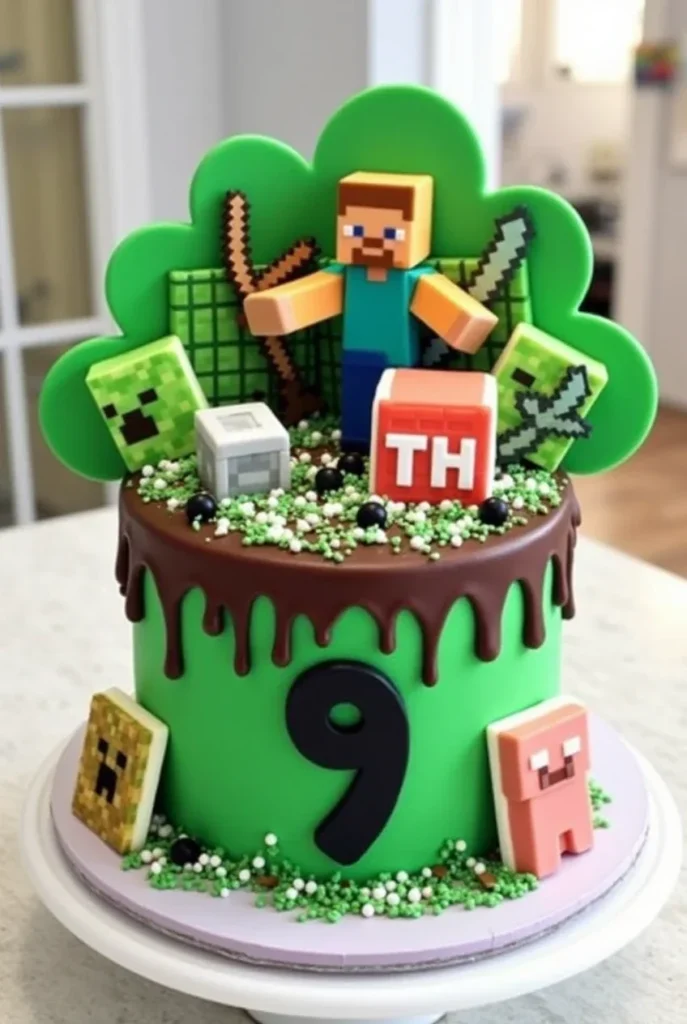
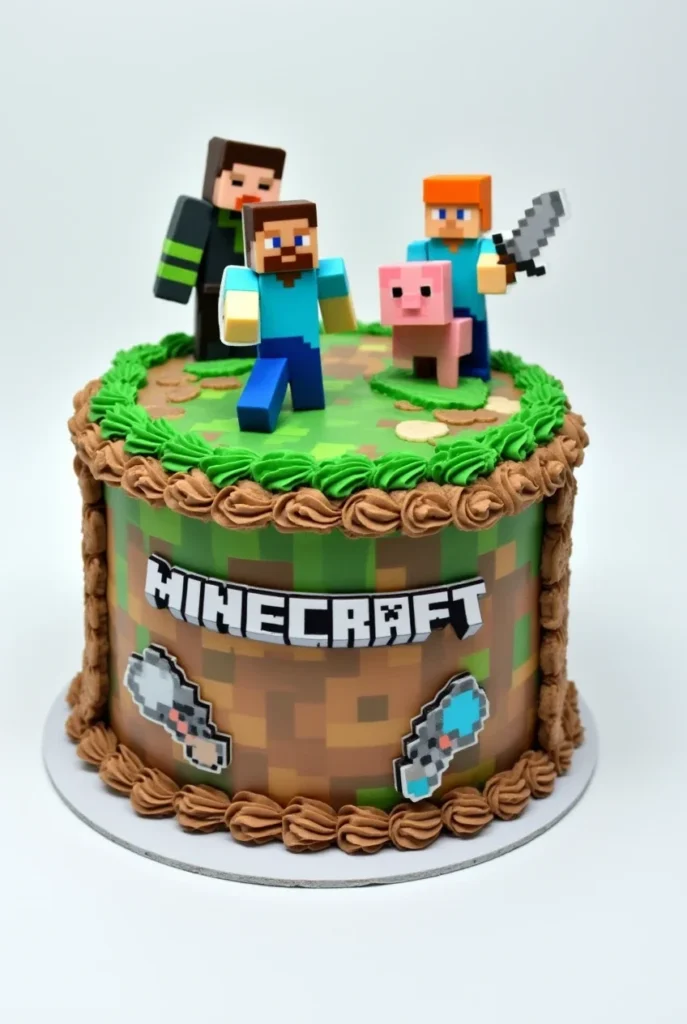
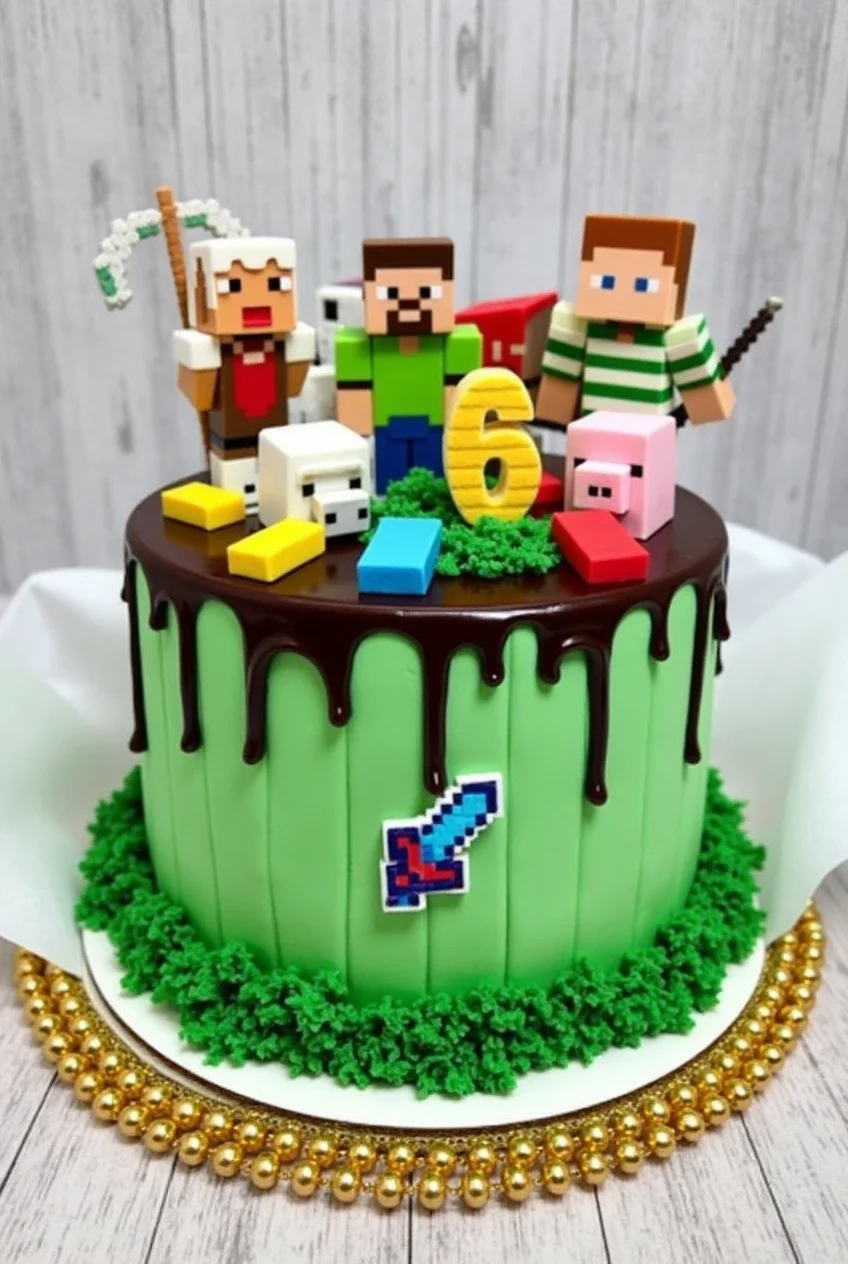
If you’re looking for the perfect centerpiece for your Minecraft-themed birthday party, this Minecraft birthday cake is guaranteed to steal the show. With its pixel-perfect design and delicious layers, this cake combines creativity and flavor for a party everyone will remember. Whether you’re an experienced baker or just starting out, this guide will help you create a Minecraft masterpiece that’s both fun to make and absolutely delicious to eat.
The best part? You don’t need to be a professional cake decorator to pull this off—just a little time, a few tools, and a passion for building something amazing (Minecraft-style!). Let’s get started and turn your celebration into a blocky wonderland!
Why You’ll Love This Minecraft Birthday Cake!
As someone who’s crafted this cake for my own family celebrations, let me tell you—it’s a crowd-pleaser in every sense of the word. Here’s why this cake is going to be your new go-to for Minecraft parties:
- Eye-catching design: Inspired by Minecraft’s pixelated world, this cake looks like it came straight out of the game. Grass blocks, Creepers, or even TNT—pick your theme and run with it!
- Simple yet impressive: While it looks complex, the process is easy to follow, even if you’ve never worked with fondant before.
- Customizable flavors: Vanilla, chocolate, red velvet, or even funfetti—the cake’s flavor can be tailored to suit any taste buds.
- Interactive fun: Baking this cake is almost as fun as playing Minecraft itself. And, just like building in the game, you can experiment with different designs to make it uniquely yours.
- Perfect for all ages: Whether the birthday person is 7 or 37, this cake is guaranteed to make them smile.
What Does a Minecraft Cake Taste Like?
While the design may remind you of Minecraft’s blocky dirt or grass textures, don’t let that fool you—the taste is nothing short of heavenly! Each layer is moist and fluffy, with rich frosting that perfectly balances sweetness. Here’s what you can expect:
- Cake layers: Soft, tender, and full of flavor. Whether you choose classic vanilla or rich chocolate, each bite melts in your mouth.
- Frosting: Creamy, buttery, and silky smooth. You can tint it with food coloring for extra flair, or keep it neutral for a simple elegance.
- Fondant decorations: Slightly chewy and sweet, these add a touch of creativity and texture to each bite.
Why Make Your Own Minecraft Birthday Cake?
Store-bought themed cakes are convenient, but let’s face it—they often lack that personal touch. Making your own Minecraft cake is rewarding for so many reasons:
- Customization: You can tailor the design to your exact preferences. Want a Creeper face or a full block landscape? It’s entirely up to you!
- Cost-effectiveness: Themed cakes from bakeries can be expensive. With this recipe, you can achieve professional-quality results without breaking the bank.
- Bonding activity: If you’re baking with kids, they’ll love helping out with decorating—rolling out fondant, cutting shapes, and assembling the cake is like real-life Minecraft!
- Satisfaction: There’s nothing quite like seeing the look on someone’s face when they realize you made the cake yourself.
Ingredients You’ll Need
Here’s what you’ll need to bring your Minecraft cake to life:
For the cake:
- 3 cups all-purpose flour
- 1 tablespoon baking powder
- 1 teaspoon baking soda
- 1/2 teaspoon salt
- 1 cup unsalted butter, softened
- 2 cups granulated sugar
- 4 large eggs
- 1 tablespoon vanilla extract
- 1 1/2 cups whole milk
For the frosting:
- 1 cup unsalted butter, softened
- 4 cups powdered sugar
- 1/4 cup heavy cream (or milk)
- 1 teaspoon vanilla extract
- Green food coloring (optional, for grass effect)
For decoration:
- Green fondant (for grass blocks)
- Black fondant (for Creeper or TNT details)
- Brown fondant (optional for dirt blocks)
- White fondant (for accents)
- Edible food pens (optional for precise designs)
Tools You’ll Need
To build this Minecraft cake, you’ll need a few essential tools:
- 8-inch square cake pans (2 or 3, depending on how many layers you want)
- Piping bags and grass tip nozzles (if piping grass effects)
- Offset spatula for frosting
- Rolling pin for fondant
- Fondant cutter or sharp knife for pixel shapes
- Cake board or large serving platter
- Cooling racks
- Toothpicks or skewers (for structural support if stacking high layers)

Step-by-Step Instructions for the Perfect Minecraft Cake
Step 1: Prepare the Cake Layers
- Preheat and prepare: Preheat your oven to 350°F (175°C). Grease your square cake pans and line them with parchment paper for easy removal.
- Mix dry ingredients: In a medium bowl, whisk together the flour, baking powder, baking soda, and salt.
- Cream butter and sugar: In a large bowl, beat the butter and sugar until light and fluffy. This step is key to getting soft, airy cake layers.
- Add eggs and vanilla: Beat in the eggs one at a time, followed by the vanilla extract.
- Combine wet and dry: Gradually alternate adding the dry ingredients and milk to the batter, starting and ending with the dry ingredients. Mix until just combined.
- Bake: Divide the batter evenly between your pans. Bake for 25–30 minutes, or until a toothpick inserted in the center comes out clean.
- Cool: Let the cakes cool in the pans for 10 minutes before transferring them to a wire rack to cool completely.
Step 2: Make the Buttercream Frosting
- Beat the butter: In a large bowl, whip the butter until creamy and smooth.
- Add powdered sugar: Gradually add the powdered sugar, one cup at a time, mixing on low speed.
- Add cream and vanilla: Pour in the heavy cream and vanilla extract, then increase the speed to high. Beat until the frosting is light and fluffy.
- Color the frosting (optional): If you’re making a grass block design, tint half of the frosting green using food coloring.
Step 3: Assemble Your Cake
- Trim the layers: Use a serrated knife to level the tops of your cakes. This will help your cake stack evenly.
- Stack and frost: Spread a layer of frosting between the cakes, then apply a crumb coat to seal in crumbs. Chill the cake for 20–30 minutes.
- Final coat: Apply a smooth layer of frosting over the entire cake.
Step 4: Decorate Your Minecraft Cake
- Roll out fondant: Roll your fondant to about 1/8-inch thickness. Use a knife or fondant cutter to cut small squares to resemble Minecraft pixels.
- Assemble the design: Attach the fondant squares to the sides of the cake, creating your desired pattern (e.g., grass block, Creeper face, or TNT).
- Add finishing touches: Pipe green frosting on the top for a grass effect, or use fondant for more intricate details.
Creative Variations for Your Minecraft Cake
- Grass Block Cake: Keep it simple by making a grass block with green and brown fondant. Add piped frosting grass on top for texture.
- Creeper Cake: Use black and green fondant to create the iconic Creeper face on the front of the cake.
- TNT Cake: Add red fondant squares and white fondant letters to mimic the game’s TNT blocks.
- Diamond Ore Cake: Create a stone block with gray fondant, then add blue fondant squares for diamonds.
What to Serve With Your Minecraft Cake
Turn your party into a true Minecraft feast with these themed treats:
- Minecraft cookies: Cut sugar cookies into shapes like swords, pickaxes, and creepers.
- “Potion” drinks: Serve colorful drinks in small glass bottles labeled as potions.
- Slime Jello: Green Jello cups with gummy worms make a perfect slime-themed snack.
- Golden apple treats: Dip apples in caramel and edible gold dust.
Tips for a Flawless Minecraft Cake
- Work with chilled cakes: Cold cake layers are easier to frost and stack.
- Use edible glue for fondant: If your fondant pieces aren’t sticking, mix a little water and powdered sugar to create a glue-like consistency.
- Practice your design: Lay out the fondant pieces on parchment paper before attaching them to the cake.
Storing Your Minecraft Cake
- Room temperature: Keep the cake covered at room temperature for up to 2 days.
- Refrigerator: Store in the fridge for up to 5 days. Bring it to room temperature before serving.
- Freezer: Wrap undecorated cake layers in plastic wrap and foil, then freeze for up to 2 months.

Frequently Asked Questions (FAQ)
Can I make this cake gluten-free?
Yes! Use a gluten-free flour blend that substitutes 1:1 for all-purpose flour.
What if I don’t have fondant?
No problem! You can use tinted frosting and pipe designs instead.
How far in advance can I make this cake?
You can bake the cake layers up to 2 days in advance. Decorate it the day before the party for the best results.
Wrapping Up: A Cake to Remember
This Minecraft birthday cake is more than a dessert—it’s a work of edible art that celebrates creativity, fun, and, of course, a love of Minecraft. From its pixel-perfect design to its delicious flavor, this cake will be the star of your next celebration. So roll up your sleeves, grab your fondant tools, and start building your Minecraft-inspired masterpiece!
If you try this recipe, I’d love to see your creations—don’t forget to share your photos on Pinterest or tag me on Instagram. Happy baking, and happy birthday to your Minecraft fan!
Nutrition Information (Per Serving)
- Calories: 450
- Total Fat: 18g
- Saturated Fat: 11g
- Cholesterol: 95mg
- Sodium: 200mg
- Total Carbohydrates: 65g
- Protein: 4g

