Who doesn’t love the silky sweetness of a chocolate bar? Whether you’re indulging in a quiet moment of self-care, celebrating a special moment, or sharing treats with loved ones, chocolate has a way of bringing joy like no other dessert. Today, I’m thrilled to share a homemade chocolate bar recipe that is as simple as it is luxurious. Trust me, this is the kind of recipe you’ll want to make over and over again.
Making your own chocolate bars at home means you can customize every aspect of the recipe, from the level of sweetness to the type of chocolate. Plus, the satisfaction of creating something so decadent from scratch is unbeatable. Once you’ve tried this, you might never go back to store-bought chocolate bars again.
And before we get into it, make sure to subscribe for more irresistible recipes like this, delivered straight to your inbox!
Why Make Your Own Chocolate Bars?
Let’s face it: store-bought chocolate bars are convenient, but they often come with added ingredients like preservatives, artificial flavors, and unnecessary sugar. Making your own chocolate bars at home allows you to:
- Control the Ingredients: You decide how sweet, rich, or dark you want your chocolate.
- Get Creative: Add in nuts, fruits, or even spices for unique flavor combinations.
- Avoid Additives: Keep it simple, natural, and healthy.
- Save Money: Gourmet chocolate bars can be pricey. Making your own is more affordable in the long run.
- Personalize for Gifts: Homemade chocolate bars make excellent gifts for holidays, birthdays, or any occasion.
What Does Homemade Chocolate Taste Like?
Picture this: a smooth, melt-in-your-mouth chocolate that’s both rich and balanced in flavor. Unlike some store-bought options that may be overly sweet or bland, homemade chocolate is all about the purity of flavor. The cocoa butter gives it that silky texture, while the cocoa powder delivers bold chocolatey goodness. With just the right amount of sweetness and a hint of vanilla, the taste is nothing short of divine.
And let’s not forget the toppings! Whether it’s crunchy almonds, chewy dried fruits, or a sprinkle of sea salt, every bite is an adventure.
Reasons to Love This Recipe
There are countless reasons why this homemade chocolate bar recipe is a winner. Here are just a few:
- Quick and Easy: You’ll only need 4-5 ingredients and about 30 minutes to make these bars.
- Dietary Friendly: Easily adapt the recipe to be vegan, keto, or gluten-free.
- Kid-Friendly: A fun activity to do with kids—they’ll love customizing their own chocolate bars!
- No Special Equipment Needed: A simple double boiler setup and silicone molds are all you need.
Ingredients for Homemade Chocolate Bars
The beauty of this recipe lies in its simplicity. Here’s what you’ll need:
Core Ingredients:
- Cocoa Butter (100g): This is what gives chocolate its creamy, smooth texture. Be sure to use food-grade cocoa butter.
- Cocoa Powder (60g): The rich, chocolatey base of the recipe. Opt for high-quality, unsweetened cocoa powder for the best results.
- Powdered Sugar (70g): Sweetens the chocolate while keeping the texture smooth. You can adjust the amount based on your desired sweetness.
- Vanilla Extract (1 tsp): Adds a subtle hint of warmth and flavor.
- Pinch of Salt (optional): Enhances the flavor and balances the sweetness.
Optional Add-Ins:
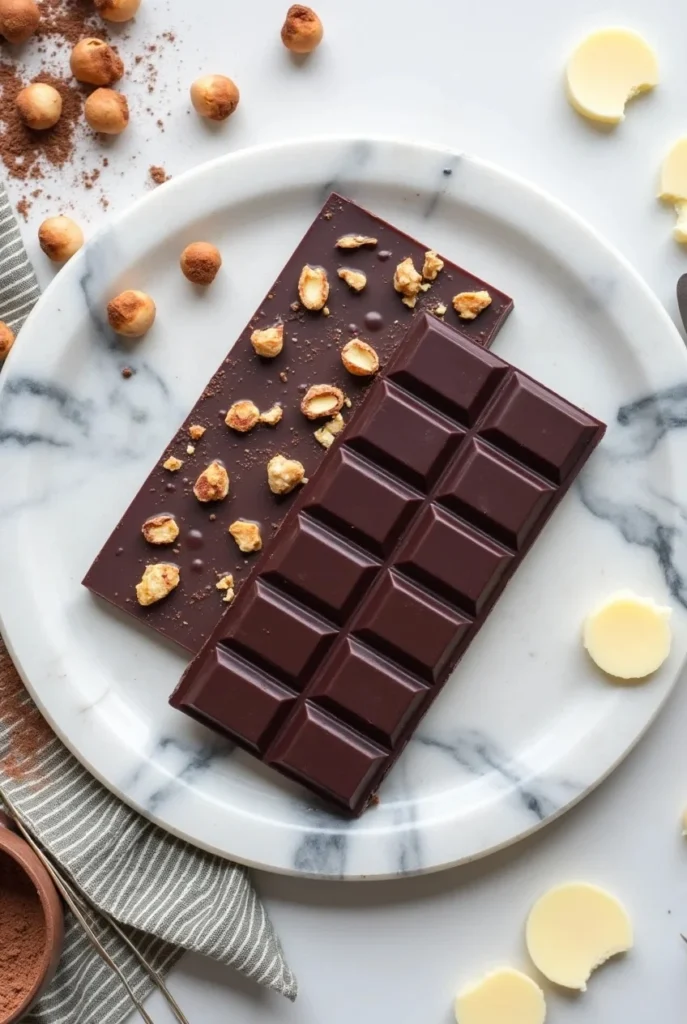
- Chopped Nuts: Almonds, hazelnuts, or pistachios for a crunchy texture.
- Dried Fruits: Cranberries, cherries, or raisins for a chewy contrast.
- Spices: A pinch of cinnamon, cayenne, or cardamom for a unique flavor twist.
- Sea Salt: A sprinkle of flaky salt on top for that sweet-and-salty combo.

Tools You’ll Need
You don’t need fancy equipment to make homemade chocolate bars. Here’s what you’ll need:
- Double Boiler or Heatproof Bowl: To gently melt the cocoa butter without overheating.
- Whisk and Spatula: For stirring and scraping the mixture.
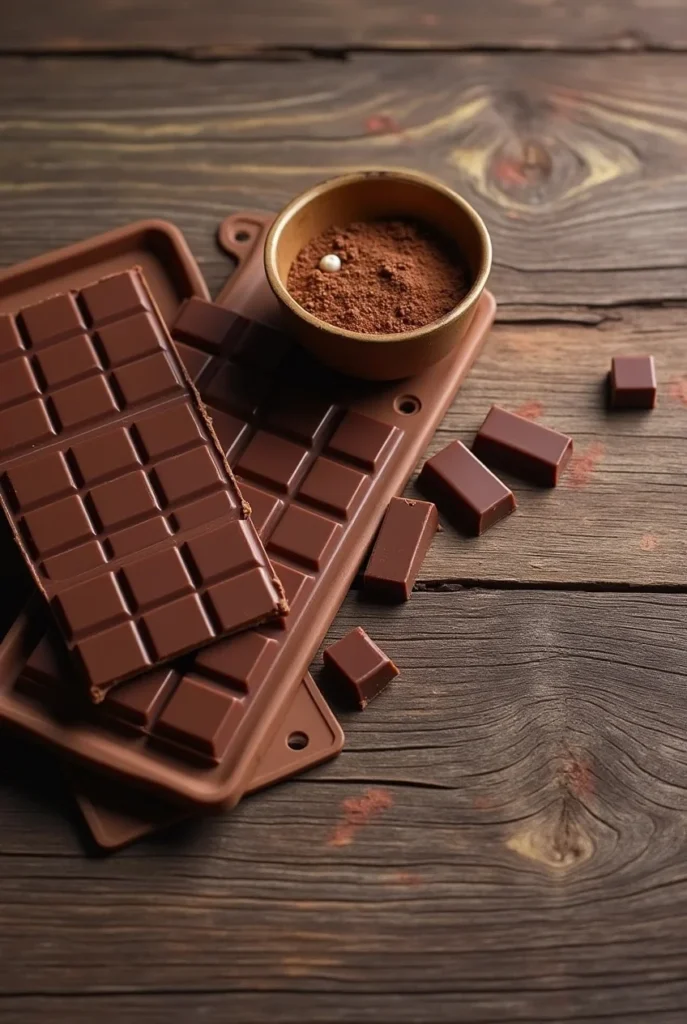
- Silicone Chocolate Molds: For shaping your bars. If you don’t have molds, a parchment-lined tray works just as well for a bark-like effect.
- Kitchen Scale: Precision matters when it comes to chocolate-making.
- Sieve or Fine Mesh Strainer: To sift the cocoa powder and avoid lumps.
Step-by-Step Guide to Making Homemade Chocolate Bars
Step 1: Melt the Cocoa Butter
- Set up a double boiler by placing a heatproof bowl over a pot of simmering water. Ensure the water doesn’t touch the bottom of the bowl.
- Add the cocoa butter to the bowl and gently melt it, stirring occasionally. Keep the temperature below 45°C (113°F) to preserve the cocoa butter’s natural properties.
Step 2: Sift and Mix the Dry Ingredients
While the cocoa butter is melting, sift the cocoa powder and powdered sugar into a separate bowl. This step ensures there are no lumps, resulting in a smooth chocolate mixture.
Step 3: Combine Ingredients
- Once the cocoa butter is fully melted, gradually whisk in the sifted cocoa powder and powdered sugar.
- Stir continuously until the mixture is smooth and glossy.
- Add the vanilla extract and a pinch of salt (if using), and stir well.
Step 4: Pour into Molds
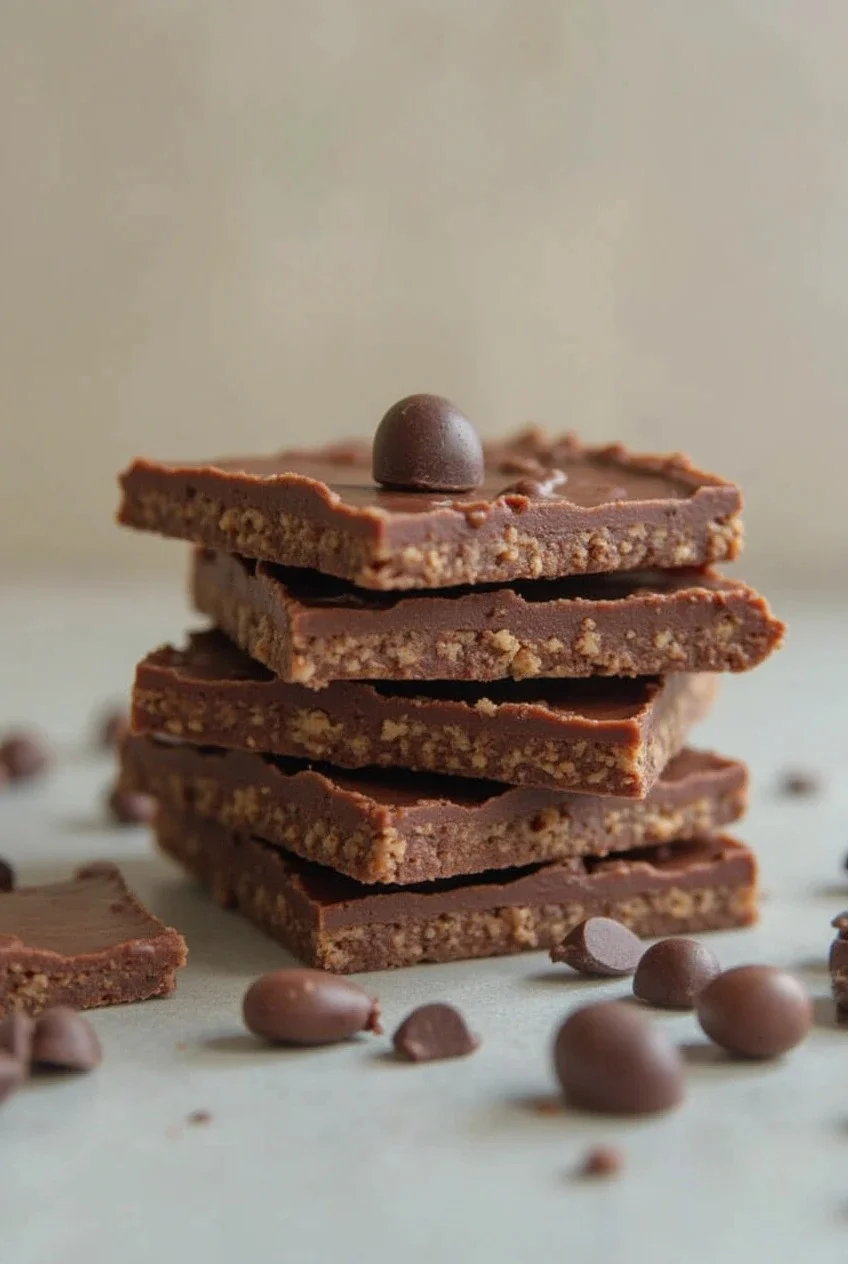
- Carefully pour the chocolate mixture into your silicone molds. If you’re not using molds, pour it onto a parchment-lined tray and spread it evenly for a bark-like effect.
- If adding toppings, sprinkle them over the chocolate before it sets.
Step 5: Set and Chill
- Place the molds or tray in the fridge for 1-2 hours, or until the chocolate is fully set.
- Once set, pop the chocolate out of the molds or break the bark into pieces.

Customization Ideas
One of the best things about making your own chocolate bars is the endless customization possibilities. Here are a few ideas to inspire you:
Sweet and Salty:
- Sprinkle flaky sea salt on top.
- Add crushed pretzels for a salty crunch.
Fruity and Nutty:
- Mix in chopped almonds, hazelnuts, or pecans.
- Add dried fruits like cranberries, apricots, or mango.
Gourmet Flavors:
- Stir in espresso powder for a mocha chocolate bar.
- Add a pinch of chili powder for a spicy kick.
- Swirl in peanut butter or caramel for a decadent twist.
Themed Chocolates:
- Use edible food coloring to create marbled or patterned designs.
- Add colorful sprinkles for a fun, festive touch.
Serving Suggestions
Homemade chocolate bars can be enjoyed in a variety of ways:
- On Their Own: Break off a piece and savor it as a midday treat.
- With Coffee or Wine: Dark chocolate pairs beautifully with a bold red wine or a rich espresso.
- As a Topping: Crumble the chocolate over ice cream, yogurt, or oatmeal for an indulgent twist.
- For Gifting: Wrap your chocolate bars in parchment paper or cellophane and tie them with a ribbon. They make thoughtful, personalized gifts.
Tips for Perfect Chocolate Bars
- Use High-Quality Ingredients: The better your cocoa butter and cocoa powder, the better your chocolate will taste.
- Avoid Overheating: Keep the temperature low when melting the cocoa butter to prevent the chocolate from becoming grainy.
- Sift the Dry Ingredients: This step ensures a smooth, lump-free texture.
- Work Quickly: Once the chocolate is ready, pour it into molds immediately before it begins to set.
Storage Instructions
Homemade chocolate bars are best stored in an airtight container in a cool, dry place. Here’s how to store them properly:
- Room Temperature: Keep the bars at room temperature for up to 2 weeks, provided your kitchen isn’t too warm.
- Refrigerator: If your home is warm, store the bars in the fridge. Just allow them to come to room temperature before eating to avoid condensation.
- Freezer: For longer storage, wrap the bars tightly in plastic wrap and freeze for up to 3 months.
Frequently Asked Questions
Can I Make This Recipe Vegan?
Yes! Simply ensure that your cocoa butter and powdered sugar are vegan-friendly. You can also experiment with natural sweeteners like maple syrup or agave.
How Can I Make Milk Chocolate?
To create milk chocolate, add 1-2 tablespoons of powdered milk or milk powder to the cocoa mixture. This will give the chocolate a creamy, melt-in-your-mouth texture.
Can I Temper the Chocolate?
If you’re aiming for that professional, glossy finish, you can temper the chocolate. Tempering involves carefully controlling the temperature of the chocolate as it cools to create a shiny, snap-worthy finish.
What Are Some Other Flavor Ideas?
You can add orange zest, peppermint extract, or even lavender for unique flavor combinations.
Final Thoughts
Making your own chocolate bars at home is not only rewarding but also incredibly fun. You get to experiment, create, and enjoy a treat that’s entirely your own. Whether you’re looking to satisfy your chocolate cravings, impress your friends, or create heartfelt gifts, this homemade chocolate bar recipe is a must-try.
If you try this recipe, I’d love to hear about your experience! Share your photos on Pinterest or Instagram, and let me know what creative toppings or flavors you tried.
Looking for more chocolatey inspiration? Check out my other recipes for chocolate bark, molten lava cakes, and homemade truffles!
Nutritional Information (Approx. Per Serving)
Calories: 120 | Fat: 8g | Carbs: 12g | Protein: 1g


1 thought on “5 Reasons to Love This Homemade Chocolate Bar Recipe: Easy, Decadent, and Customizable”