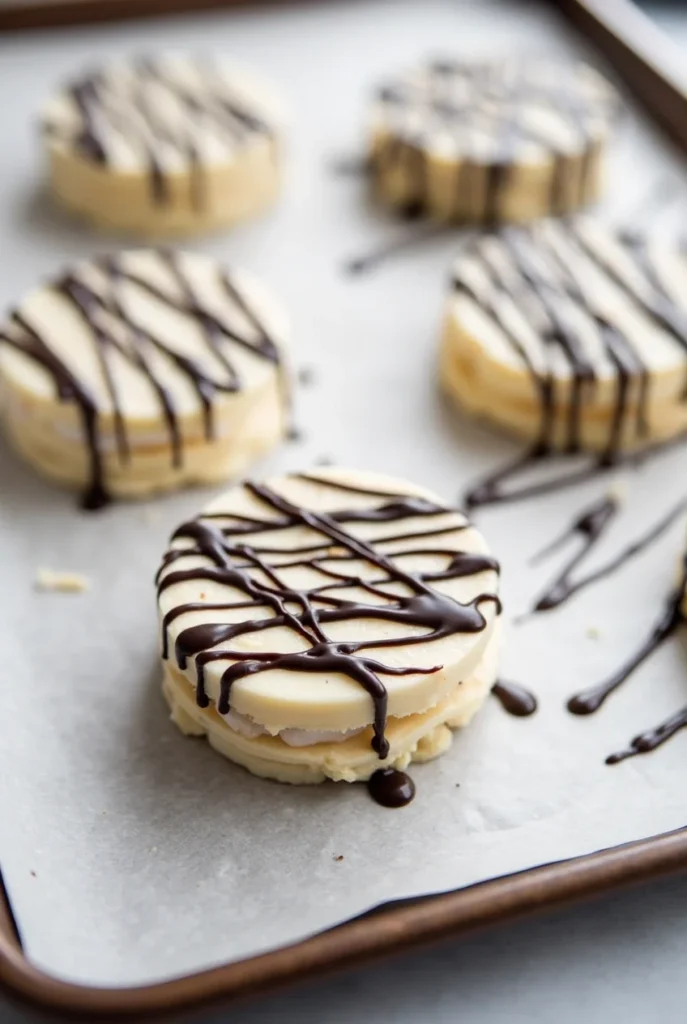
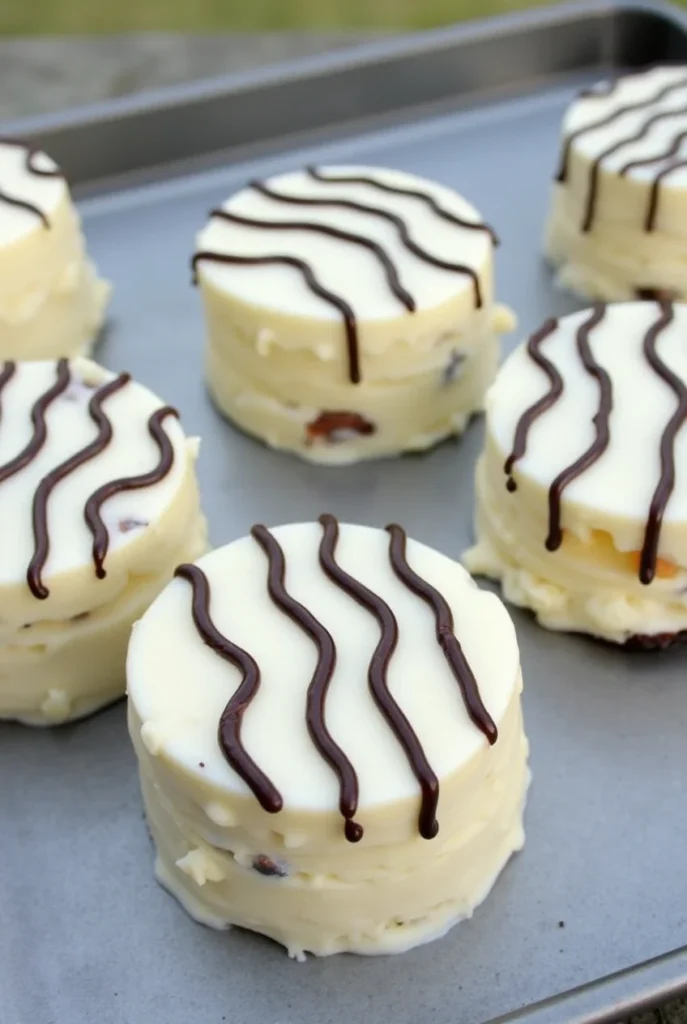
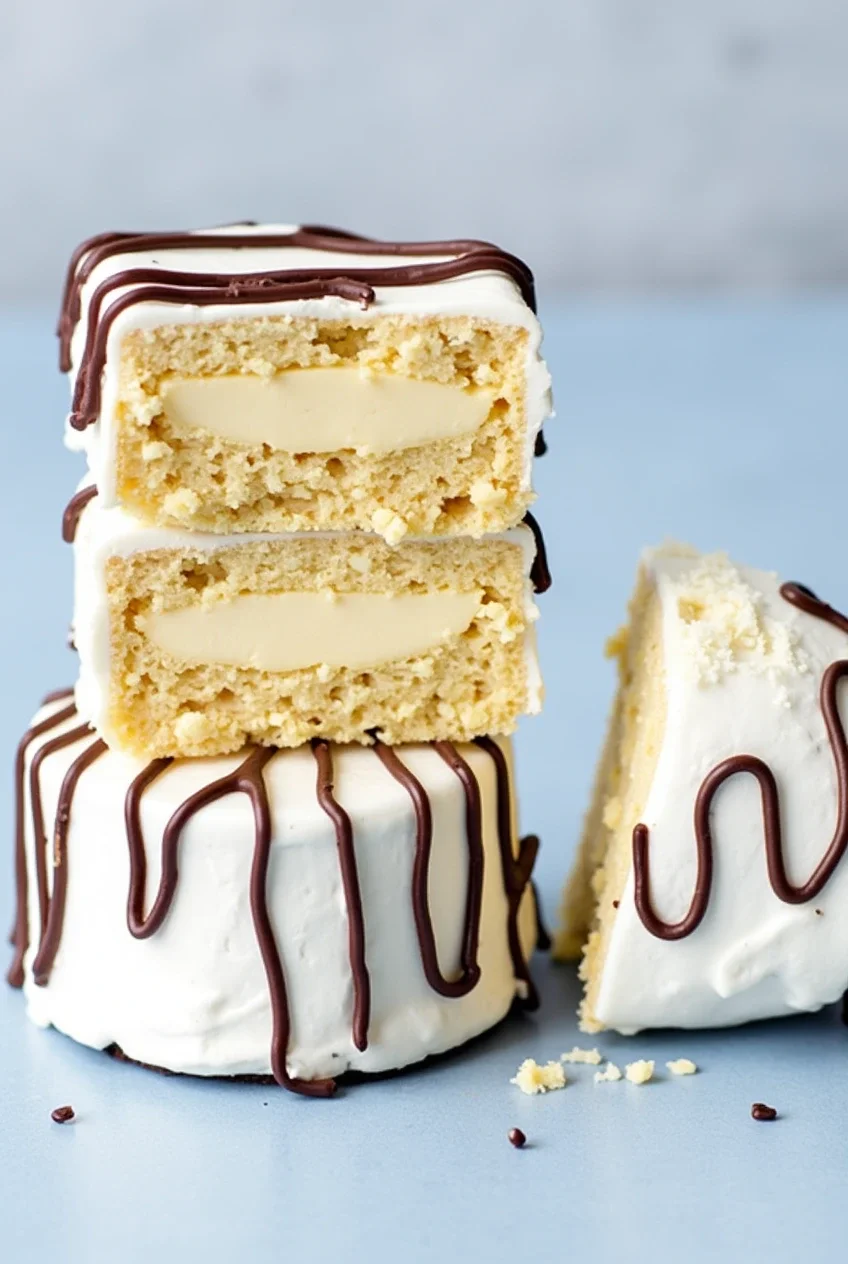
If you’re craving the perfect sweet treat that combines nostalgia with pure indulgence, look no further than this Homemade Zebra Cakes Recipe! These soft vanilla sponge cakes, sandwiched with a light and creamy filling and finished with a decadent chocolate glaze, are a homemade take on the classic Little Debbie Zebra Cakes that so many of us adored as kids. And trust me, once you make these from scratch, you’ll never want to go back to the store-bought version!
In this recipe, I’ll guide you through each step to help you create the perfect Zebra Cakes at home. Whether you’re making them for a birthday party, a lunchbox surprise, or simply to enjoy with a cup of coffee, these cakes will bring a smile to your face. So, let’s roll up our sleeves and get started!
What Makes This Homemade Zebra Cakes Recipe So Special?
You might be wondering, why should I make Zebra Cakes from scratch when I can grab a pack from the store? Here’s why this Homemade Zebra Cakes Recipe is worth every effort:
1. It’s Fresh and Flavorful
Store-bought Zebra Cakes can be overly sweet, with a processed taste. The homemade version is made with real ingredients, giving you soft, fluffy cake layers, a light vanilla filling, and a rich chocolate glaze that tastes fresh and delicious.
2. It’s Nostalgic
Making Zebra Cakes at home brings back all the fun and memories of enjoying these classic treats as a child. They’re perfect for recreating those special moments for your family—or just indulging in a trip down memory lane.
3. Perfect for Any Occasion
These cakes are great for parties, dessert tables, or as a thoughtful homemade gift. Their adorable striped design and bite-sized appeal make them a hit with kids and adults alike!
4. Customizable
From changing the filling flavor to experimenting with different glazes, you can easily customize this recipe to suit your tastes. Want a chocolate cake version? No problem!
The Taste and Texture of Homemade Zebra Cakes
When you take your first bite of these homemade Zebra Cakes, you’ll notice the difference immediately. The texture is light and fluffy, thanks to the vanilla sponge cake, while the filling is creamy with just the right amount of sweetness. The chocolate glaze adds a rich, decadent touch, and those signature white stripes make them as fun to look at as they are to eat.
Ingredients You’ll Need for This Homemade Zebra Cakes Recipe
This recipe uses simple ingredients, most of which you likely already have in your pantry or fridge. Here’s what you’ll need:
For the Cake Layers
- 2 ½ cups all-purpose flour
- 2 ½ teaspoons baking powder
- ½ teaspoon salt
- 1 cup unsalted butter, softened
- 1 ¾ cups granulated sugar
- 4 large eggs
- 2 teaspoons vanilla extract
- 1 cup whole milk
For the Cream Filling
- ½ cup unsalted butter, softened
- 2 cups powdered sugar
- 1 teaspoon vanilla extract
- 2–3 tablespoons heavy cream (or milk)
For the Chocolate Glaze
- 1 ½ cups semi-sweet chocolate chips
- 2 tablespoons coconut oil or vegetable shortening
For the White Stripes
- ½ cup white chocolate chips
- 1 teaspoon coconut oil

Tools You’ll Need
To make these Zebra Cakes, you’ll need the following tools:
- Mixing bowls
- Electric mixer or stand mixer
- Offset spatula
- 9×13-inch baking pan
- Parchment paper
- Round or rectangular cookie cutter
- Small piping bag (or zip-top bag with the corner snipped)
Step-by-Step Instructions for Homemade Zebra Cakes
This Homemade Zebra Cakes Recipe is broken down into simple steps so you can follow along with ease. Let’s get started!
Step 1: Preheat Your Oven
Preheat your oven to 350°F (175°C). Line a 9×13-inch baking pan with parchment paper, allowing the edges to hang over the sides for easy removal. Lightly grease the parchment paper.
Step 2: Prepare the Cake Batter
- In a medium bowl, whisk together the flour, baking powder, and salt.
- In a large bowl, use an electric mixer to cream the softened butter and sugar together until light and fluffy (about 3–4 minutes).
- Beat in the eggs one at a time, followed by the vanilla extract.
- Gradually add the dry ingredients to the wet ingredients in three additions, alternating with the milk. Start and end with the dry ingredients. Mix until just combined—be careful not to overmix!
Step 3: Bake the Cake
- Pour the batter into the prepared baking pan and spread it evenly with an offset spatula.
- Bake for 25–30 minutes, or until a toothpick inserted in the center comes out clean.
- Allow the cake to cool completely in the pan before lifting it out using the parchment paper overhang.
Step 4: Prepare the Cream Filling
- In a medium bowl, beat the butter until smooth and creamy.
- Gradually add the powdered sugar, beating until light and fluffy.
- Mix in the vanilla extract and heavy cream until the filling reaches a spreadable consistency.
Step 5: Assemble the Zebra Cakes
- Once the cake has cooled, use a round or rectangular cookie cutter to cut the cake into even shapes.
- Spread a generous layer of cream filling onto half of the cut-out pieces.
- Place the remaining pieces on top of the filled ones to create little sandwiches.
Step 6: Make the Chocolate Glaze
- Melt the semi-sweet chocolate chips with the coconut oil in the microwave, stirring every 30 seconds until smooth.
- Dip each cake sandwich into the melted chocolate, making sure the tops and sides are coated. Place them on a wire rack set over parchment paper to catch any drips.
Step 7: Add the White Stripes
- Melt the white chocolate chips with the coconut oil in the microwave, stirring until smooth.
- Transfer the melted white chocolate to a piping bag and drizzle it over the cakes in a zigzag pattern to create the signature Zebra Cake look.
Step 8: Let the Glaze Set
Allow the chocolate glaze to set completely at room temperature or in the refrigerator before serving.

Serving Suggestions
These homemade Zebra Cakes are delightful as-is, but here are a few creative ways to enjoy them:
- Serve with a tall glass of milk for a classic pairing.
- Add them to a dessert platter alongside cookies and brownies for a party treat.
- Wrap them individually in wax paper or cellophane for an adorable homemade gift.
Tips for Success
- Cool Completely: Ensure the cake is fully cooled before assembling to avoid melting the filling.
- Even Layers: Use a serrated knife to level the cake if needed.
- Work Quickly: The chocolate glaze sets fast, so dip and stripe your cakes promptly.
Storage Instructions
- Room Temperature: Store in an airtight container for up to 2 days.
- Refrigerator: Keep in an airtight container for up to 1 week. Allow to come to room temperature before serving.
- Freezer: Wrap each cake individually in plastic wrap and freeze for up to 3 months. Thaw in the fridge overnight.
Frequently Asked Questions
Can I Make This Recipe Gluten-Free?
Yes! Substitute the all-purpose flour with a gluten-free 1:1 baking blend for a gluten-free version.
Can I Use Dark Chocolate for the Glaze?
Absolutely! Dark chocolate adds a richer, less sweet flavor to the glaze.
What If I Don’t Have a Piping Bag?
You can use a zip-top bag with the corner snipped off to pipe the white chocolate stripes.
Why This Homemade Zebra Cakes Recipe is Worth It
Sure, store-bought Zebra Cakes are convenient, but the homemade version offers unbeatable freshness, flavor, and fun! Not only do you get to enjoy a nostalgic treat, but you also get to share the love of baking with your family and friends.
So go ahead, give this Homemade Zebra Cakes Recipe a try. I guarantee it’ll become one of your go-to desserts!
Related Recipes to Try Next
If you loved this recipe, check out these other sweet treats:
- Homemade Swiss Rolls: Fluffy chocolate sponge rolled with cream filling.
- Vanilla Snack Cakes: Perfect for lunchboxes or afternoon tea.
- Mini Chocolate Eclairs: A handheld delight with creamy filling and chocolate glaze.
I’d love to hear how your Zebra Cakes turned out! Leave a comment below or share your creations on Pinterest. Happy baking!
Nutritional Information (per serving):
Calories: 320 | Protein: 3g | Fat: 18g | Carbs: 38g | Sugar: 25g
Ready to make this delicious treat? Let’s get baking! 🎉🍰


1 thought on “Zebra Cakes Recipe: Irresistible Nostalgic Treat in 10 Steps”